Wednesday, February 20, 2013

Preschool Activities: Letter of the Week {Jj}

By Tiffany Rudd

Snack Ideas:
      * Jello Jigglers! I use cookie cutters so the kids can practice shapes and have fun with their food. They are always a hit!

Favorite Books:

      * Norma Jean Jumping Bean by Joanna Cole       * Jamberry by Bruce Degen
Crafts:
      * Jellyfish Craft - Preschoolers would love painting the jellyfish tops and adding the curled ribbon. Super cute.
      * Jeweled J - Brooklyn would go crazy over this craft! I found this idea on pinterest, but unfortunately the link was incorrect, so I'm not sure where it came from. All you'd need are some self stick jewels. Here is a set of 500 for only $8 on Oriental Trading. 
Activities:
      * Jump Right Over the Color Stick - This is one of the activities my kids love to do with our color tubes (covered toilet paper rolls). You can find the full post here

Printables:
      * Click on the photos below to print out your Jj Flash Card and Writing Practice Worksheet
Pin It

Monday, February 18, 2013

Toddler Activities: 10 Songs Your Toddler Will Love to Learn

By Tiffany Rudd

I know I've mentioned this before, but the toddler years really are one of my favorite phases as a mom. I love watching how much Anniston is learning every day. Yes, she is learning how to throw a mean tantrum too, but the fun stuff really does outweigh that (most days).
One of Anniston's favorite things to do right now is sing and she's even able to sing quite a few songs on her own. I'm not going to lie...her jumping on our bed and singing "Five Little Gunkeys (ie Monkeys)" is pretty much the cutest thing ever.

I compiled a quick list of our favorite songs to sing together. I tried to get Anniston to sing at least a few of them on camera for you, but I was unsuccessful. As soon as she sees the video camera, she wants to watch herself - never mind that she hasn't even done anything for me to record yet. It was an un-winnable battle. :)

I did link each song to a place online where you can listen to or purchase the music for the ones you don't know. There are even a few with videos your toddler would love to watch. Enjoy!


Pin It

Friday, February 15, 2013

Elementary Activities: DIY Piñata

by: Deborah Pace Rowley


In science, my class has been studying the atmosphere. To liven up our studies, we made hot air balloon piñatas. Each piñata was named for a scientist that made a significant contribution to our understanding of the atmosphere. Making a homemade piñata is so much more fun than buying one from a store. The process is actually very simple and inexpensive. Piñatas are basically hollow paper-mache shapes filled with candy. For the paper-mache, you can use a traditional flour and water paste, but I have a student who is allergic to gluten and can't breathe flour in the air without a reaction. So I found a simple alternative that I prefer even more to the typical solution.


All you need for this project is a balloon, some liquid starch (I bought mine near the laundry detergents and spray starches at Walmart), some newspaper and some paper towels. Coat the strips of paper with the liquid starch, squeeze off the excess and apply to the balloon. Then repeat several times.


I used both newspaper and paper towels because then it makes it easier for you to distinguish between layers. The students would cover the balloon entirely in newspaper strips. Then when every inch of the balloon was covered, they would begin to cover it in paper towel strips. Now we knew the balloon had two complete layers. We did two layers a day on two consecutive days. Some tables snuck in a 5th layer but I felt like 4 layers made for a sturdy piñata that was also breakable.

I did make sure that the students wrapped string around the balloon before the first layer and tied it in a loop at the top. This ensured that when we went to break our piñata the string wouldn't simply break off and leave us with a hot air balloon lying unbroken on the ground.

We also left an opening at the top that we used to pop the balloon after the 4th layer had dried. We then filled the pinata with candy and paper-mached over the opening.


When the students were finished with the paper-mache process, they decorated their hot air balloons with paint. (You could also use fringed crepe paper to decorate the hot air balloon. I think stripes of fringed crepe paper would look amazing. Or how about a soccer ball or basketball piñata for a sports fan? You could even make a globe or a disco ball covered in reflective stickers for a tween.) Most of the tables decided to paint their hot air balloons in the colors of the flag of their scientist. Then we made baskets out of plastic cups and the students made little model scientists to sit inside their baskets.


They were very excited when we got to break the piñatas and the scientists went flying. (I am not sure what the lesson was there. I really don't want to know!)

We had lots of fun breaking our piñatas but even more fun making them. Instead of the thrill lasting just a few minutes, we got to extend the fun over two weeks! This would make a great project to do with an elementary school child before his or her birthday. The piñata itself cost about $2.50. Then all you need to do is add the candy and/or little toys that go inside. You could even provide some healthier alternatives when you fill a piñata on your own. Give it a try. I think you'll love it.


Pin It

Wednesday, February 13, 2013

Preschool Activities: Valentine's Day Candy Heart Math

By Tiffany Rudd

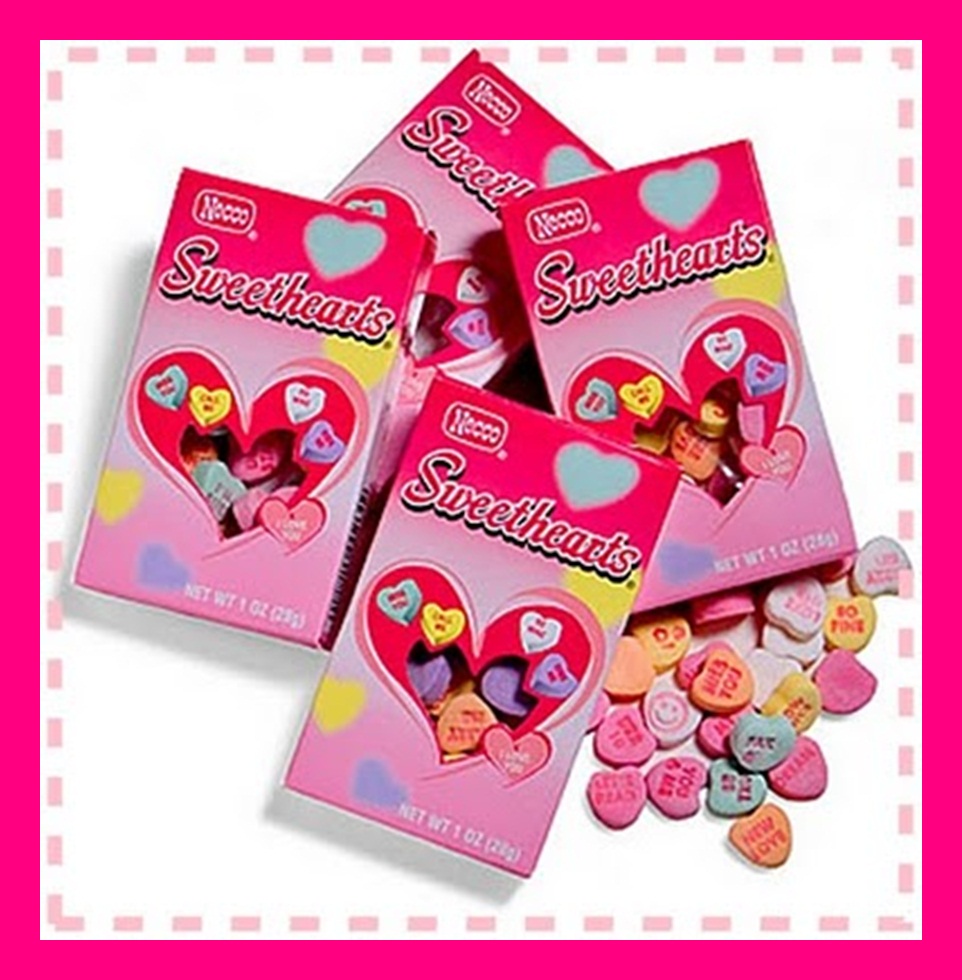
I tend to always be on the lookout and thinking/creating new curriculum for my preschoolers, so there aren't many activities that I've done every year.  Candy heart math on Valentine's Day is one of those few. It's always a favorite of the kids and I love that it keeps the kids thinking and learning while having fun at our Valentin's Day party.
All you need is a little box of candy conversation hearts and these free printables. I had created a packet that I used all my years teaching in Tennessee, but somehow I miss-placed all but the estimation page  during our move. Rather than recreate them, I just found some that were very similar on PreKinders.com. Click on each photo below to print your own Valentine Math Packet. I hope your preschooler enjoys this activity as much as mine have.

Happy Valentine's Day! :)
Pin It

Monday, February 11, 2013

Toddler Activities: Puppy Love- A Valentine's Tail

By Deborah Pace Rowley
We have shared stories for Thanksgiving (The Turkey with the Terrible Temper) and Christmas (Santa's Pack). Here is a fun, original story for Valentine's Day.

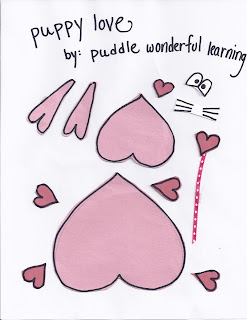
It is called "Puppy Love- AValentine's Tail." What makes this story so fun is that you can help your child create a picture of little puppy out of hearts as you tell the story.
Muffin the puppy is in love with a kitten named Cupid. But like most cats Cupid plays too cool for her Romeo. Muffin doesn't give up, however, as he delivers his hearts, Cupid secretly uses them to create a portrait of the puppy to reveal her true feelings in return.
You can use your own red and pink construction paper to create the hearts that you need for the story. Or you can use our free printable of the pieces here. You can make this story reusable by laminating the pieces and attaching magnets so you can put the puppy together on a magnet board. Or you can simply print out the pieces, cut them apart and help your child glue them to a piece of white paper as you tell the story.
Either way you will have lots of fun. Older toddlers can start to pick out the hearts that are the correct color and size as you tell the story. Even preschoolers will need help putting the hearts in the right place so you can have the finished product in front of them for them to copy or you can show them where each piece should go to keep the final image a surprise.  As you tell the story over and over again, your child will quickly learn just where to put each piece to create the picture of the puppy. Then they can be responsible to tell the story to Dad or to Grandma or Grandpa.

You will find the text of the story below.

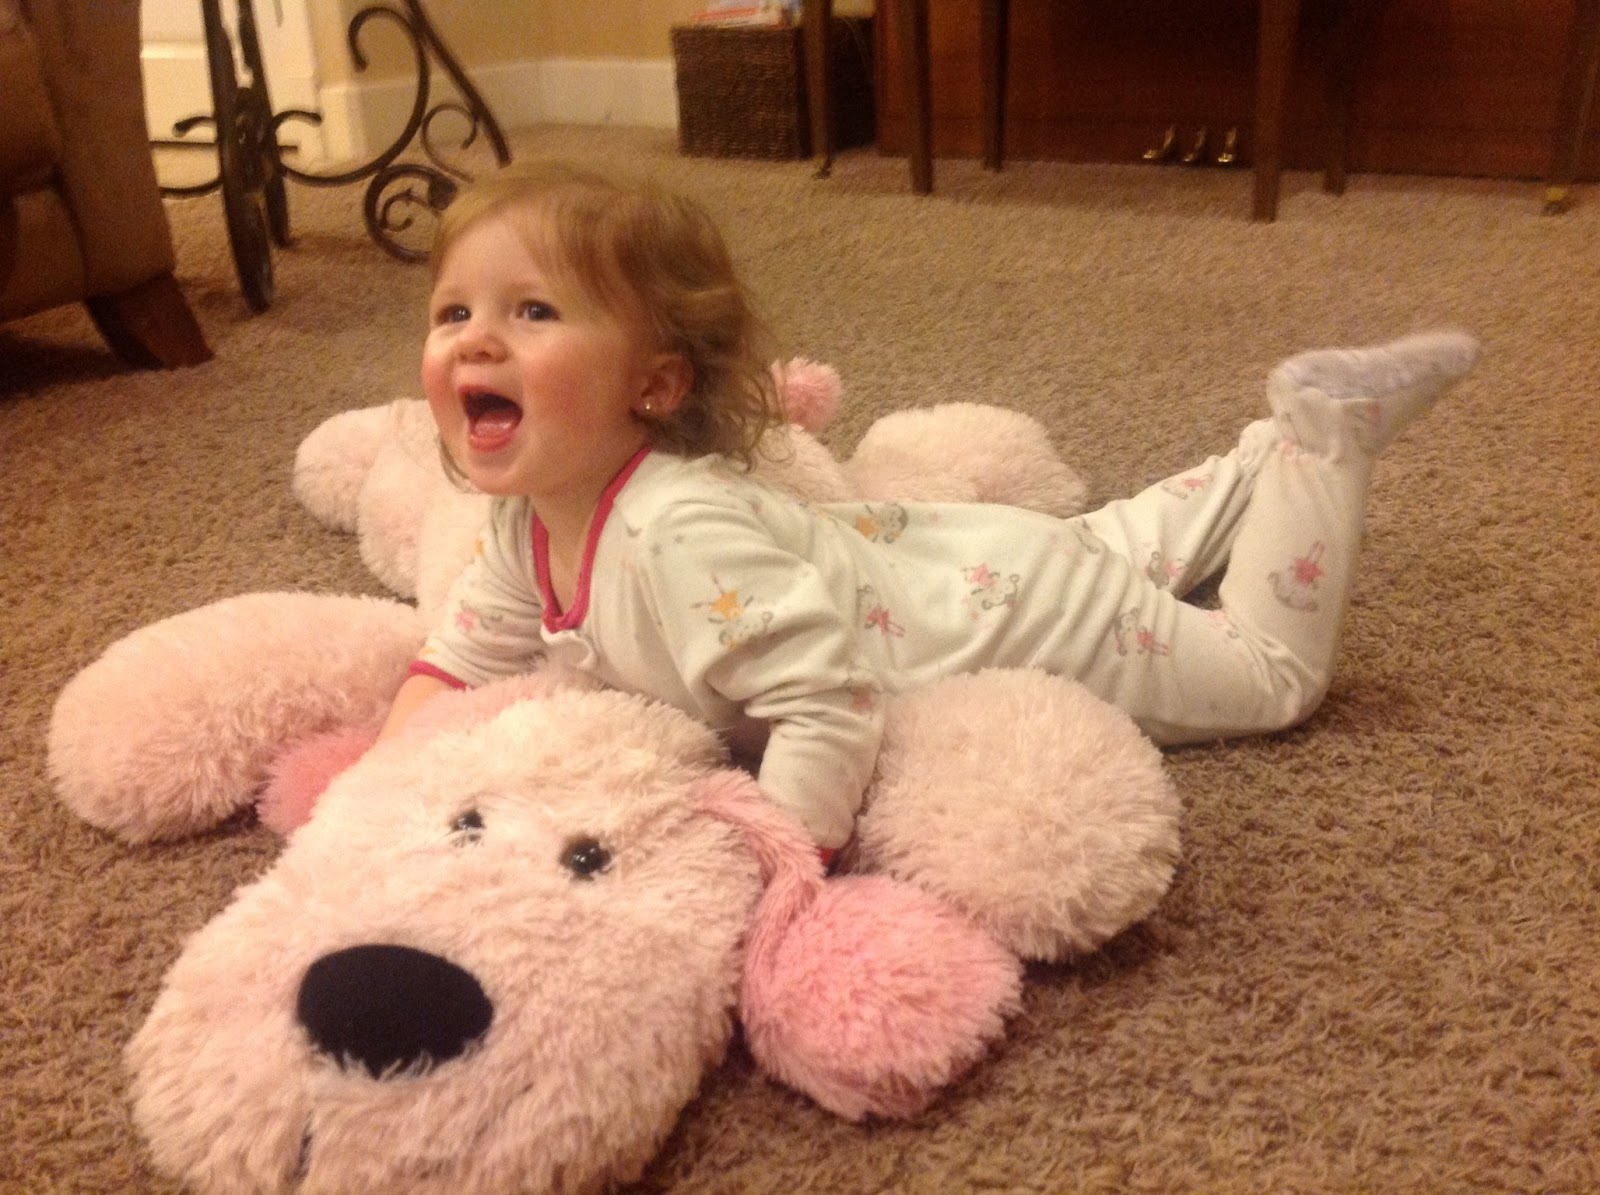
Anniston with the real Muffin
Pin It

Friday, February 8, 2013

Elementary Activities: Art Appreciation Wall

By Deborah Pace Rowley


Elementary-age kids love to have their artwork displayed. The fridge was the proverbial place for pictures in the past. But if you are like me, I have a fridge that is not magnetic. (Even if it was, I think memo and magnet covered fridges look a little messy. Maybe that is my O.C.D coming out!)

But that doesn't mean that I shouldn't have a place of honor for treasured works of art. The walls of our mud room have become our art gallery. Once when my 6-year-old niece was visiting, I caught her staring at our wall of simple drawings. "See," she said to her mother. "Aunt Debbie loves her kids. She hangs up all their pictures!" My sister-in-law and I exchanged bemused grins. Of course, it wasn't that I loved my kids any more than she loved hers. It was just that I had an art appreciation wall. I guess this is a big deal in the mind of a child! It doesn't matter where you put it. How about down the walls of a staircase or along the sides of a bedroom hallway?


I love the look that mats give to simple drawings. My children have all enjoyed an elementary art teacher that was amazing. She took the time to prepare an art show at the end of every year. Then she would mount and mat 5 or 6 of the best pieces of art for each child. She cut these mats herself and then covered each piece in plastic wrap. I can't cut my own mats but  I know that mats and frames are available at thrift stores and dollar stores, Goodwill or Deseret Industries for just a few dollars.


One mother I knew had a gallery of her children's art work in her front entryway. The reason that the kid's crayons looked so classy is that all the art was in an eclectic group of flea market frames that were as original and interesting as the works of art that they contained. She had grouped these different size frames in a beautiful arrangement that told each guest in her home how important her children and their creativity were to her. It was awesome.


If you haven't got a wall of fame already, now is the time to start. Simply hang up your child's latest creation and rotate them as desired. And just because your child leaves elementary school, doesn't mean you need to stop displaying their work.


Here is one of my favorite drawings from my daughter who is in college! This is a priceless work of art to me.


Pin It

Wednesday, February 6, 2013

Preschool Activities: M&M Paint

By Tiffany Rudd

I promise I'll get back to sharing my letter of the week next Wednesday, but this painting activity was just to much fun not to share right away!

Who knew you could make your own paint with just m&ms and water!? When I saw the idea here, I just knew it would be a hit with my class. We had so much fun, I highly recommend you give this one a try at home.
Make Your Own M&M Paint
1. Have your child sort the candy into separate cups by color. This is great sorting practice too. This cute group of kiddos had it done in record time. 
2. Add enough cold water to the cups to just cover the candy. Don't use hot or warm, or you'll melt the chocolate.

3. Stir. As you stir the "paint" will get darker.
4. Paint! If thinly painted it will dry quickly, like water color. The thicker patches take longer to dry and are left with a glossy look. 
5. Taste! Brooklyn may or may not have licked her paper when we were finished painting. ;)

Pin It

Monday, February 4, 2013

Toddler Activities: 10 Simple Activities to Entertain Your Toddler

By Tiffany Rudd
As I was thinking about what toddler activity I wanted to post today and watching Anniston, I realized again that the best activities often don't require planning or even preparation, especially when it comes to toddlers.

This morning I draped a blanket between the corners of the couch and found an empty box for my girls to play with. The box became the car, the bed, and then the dinner table. They had snacks and lunch inside their "girl's only" fort and giggled an entertained themselves all morning.

Toddlers are more interested in the empty box than the toy that came in it, are just as entertained by random household items as they are expensive gifts and are enthralled by the simplest of things. It's just one of the many things that make toddlers so much fun. So, enjoy this phase with your toddler and try one of these simple activities today.

1. Build a Blanket Fort

2. Play With Empty Boxes
3. Dress Up
4. Blow Bubbles - I prefer to do this one outside.

5. Let Her Be a Kitchen Helper - Anniston loved to "cook" beside me, and especially loves pretending to use measuring cups and spoons, bowls and big wooden spoons.

6. Recite Nursery Rhymes

7. Fill The Sink Full of Bubbles
8. Have Some Marker Fun
9. Rip Some Magazines - When I am finished with a magazine I hand it off to Anniston to look through and rip to shreds. I worried at first that this would transfer to other books, but I've been very clear about telling her what she can and can't rip and so far it hasn't been a problem.

10. "Sort" The Laundry - This is definitely Anniston's favorite chore. I obviously have to do it again when she's finished, but she's cute so I don't mind. :)
Pin It

Friday, February 1, 2013

Elementary Activities: Storming the Castle with a Catapult

By: Deborah Pace Rowley


We have been having loads of fun in my elementary school class. One of my favorite units of study is the Middle Ages. It is fun to learn about knights, crusades and castles. I have been reading aloud the book Crispin: Cross of Lead by Avi. My students love it and it is a book I would highly recommend for kids 10 and above. It does get a little gory. It is set in the middle ages, for goodness sake. I also love the book Voices from a Medieval Village. It contains poems from the perspective of about 15 different young people who lived during that time period. I have used this book as a choral reading and my students have loved each poem.

For a fun activity to end the unit, we made paper castle towers. Then we built simple catapults and had a competition to see who could hit their castles with their catapults. Of course, after a day of digging marshmallows out of my classroom carpet, I had to bring the catapults home for Cameron, Brooklyn and Katie to try!


They were just as big of a hit at home. The catapults are super easy and simple to make. All you need are nine craft sticks, 5 to 8 rubber bands, and a plastic spoon. Popsicles sticks might work but the thicker, wider craft sticks are more sturdier and provide a stronger base. You can find the terrific tutorial here.


The catapult works great with mini marshmallows as well as regular size marshmallows but my students experimented with just about everything, including marbles, bouncy balls, and crumpled paper balls. The catapult is fun to use on its own, but if you want to make a simple castle tower, you can find the free printables here.

There are more medieval creations at this link that you can explore. We just used the first four pages. Page 1 and 2 for the castle walls. Page 3 and 4 for the crenelated top. It doesn't seem to contain the page with the tower base anymore. I printed these out for my files several years ago but you can glue the tower onto any piece of paper and it will work just fine. We used just regular printer paper and not card stock. I let my students use glue sticks and tape, but the goal was to knock the towers down, so I didn't worry about them being too sturdy.


My students were excited about denting their towers and proceeded to bombard them with every kind of ballistic balls to take the towers down. Cameron, on the other hand, took the top off the tower and turned it into a makeshift basket. Then he spent a good thirty minutes shooting the marshmallows off the catapult so that they would land inside the tower. It was so much fun to watch.
However your kids choose to play, they are sure to have lots of fun.


Good luck storming the castle!

Simple Marshmallow Catapult

Castle Tower

Pin It

Thursday, January 31, 2013

Need Help With Your Healthy Goals?


It's time for another round! :)
Are you struggling to stick with your New Year resolutions? I'd love to help you get back on a healthy track! The next round of the Feel Great in 8 Challenge begins on Monday, February 4th! 

What is Feel Great in 8?
Feel Great in 8 is an eight week heathy lifestyle competition. It includes aspects of physical, mental and spiritual health. For eight weeks challenge participants gain and/or lose points based on healthy or unhealthy choices. Weekly points are reported to Tiffany (me! the challenge creator/host). Each participant contributes $18. $10 to the prize money "pot" and $8 to pay me for my time as host. At the end of the eight weeks, the competitors with the most points will get a share of the prize money! There is also a small prize for the participant with the greatest weight loss percentage.

I have been hosting these challenges for almost 4 years now. In the past, winners have gotten as much as $250, and the greatest 8 week weight loss so far was 36 pounds!
The Challenge has been updated and improved in 2013 {details HERE}! You can also share the Feel Great in 8 Challenge with your friends and family members for the chance to WIN a FREE ENTRY {details HERE}! I hope you'll join in!


Pin It
Blogging tips