Wednesday, June 12, 2013

Father's Day Secret Code with Decoder Heart

By Deborah Pace Rowley

This is a simple and fun Father's Day craft that I did with nine 11-year-old girls. It was simple and easy and cost only about $1.00 per girl. This would be a great activity to do with a Sunday School class or play group or just with your own kids before Father's Day. Here are the supplies you need:


A Brown Paper Sack
Some red cellophane (I found red cellophane bags at Walmart that we cut apart)
A heart shaped cookie cutter or heart template
Glue Stick
Scissors
Assorted Ribbon
White and Black Cardstock
Red and Blue Crayons
Goodies to put inside the finished sack along with the code key
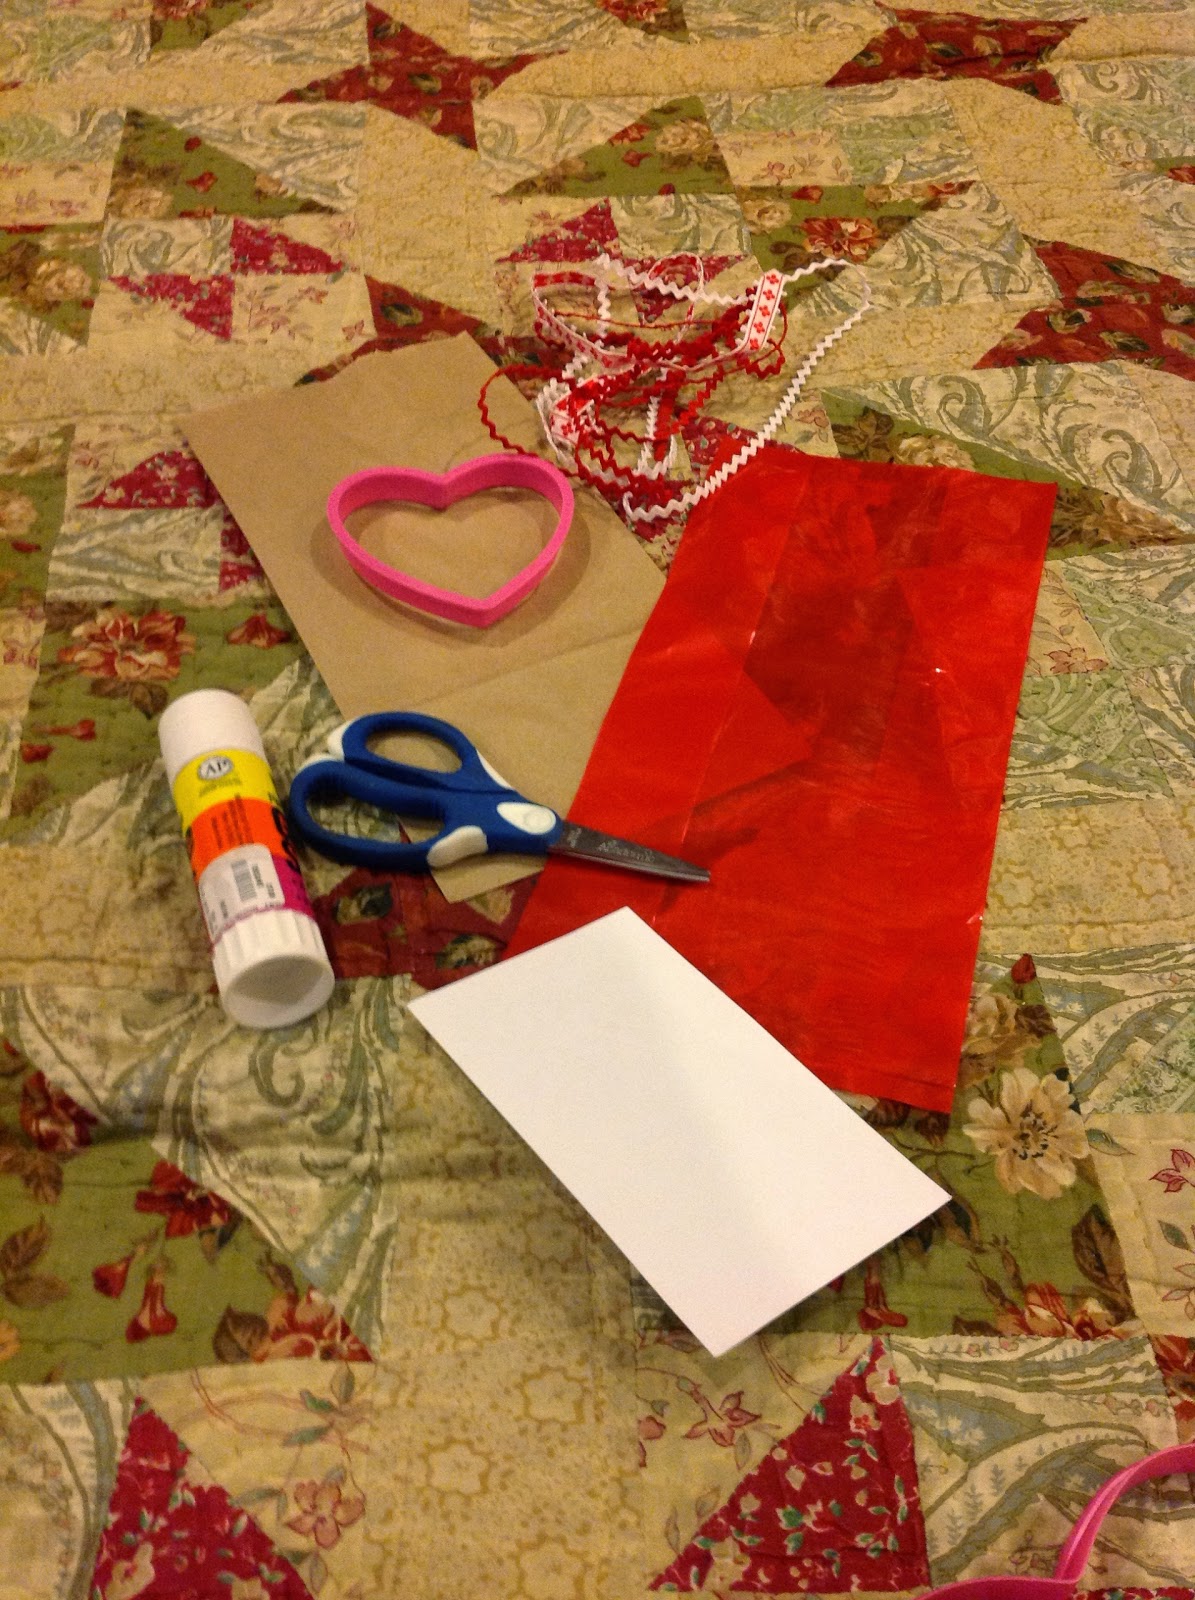

We started out by tracing around the cookie cutter on the brown paper sack.

Then the girls cut out the heart shape.


 and glued the red cellophane into the inside of the sack to cover the heart-shaped cut-out.

Now you can fill your sack with goodies and start on the secret code. We drew symbols for each of the letters of the alphabet.

You can print a copy of our secret code alphabet here.
Then the girls wrote a message to their dads in secret code. Some of the messages were:
You are awesome.
I am so glad you are my Dad.
I am crazy about you.
You make me laugh.
and my personal favorite: I wouldn't trade you for pizza.
The girls wrote the message on a white piece of card stock and glued black card stock to the back.
Now we had to create the secret decoder key.
The girls wrote the code key in blue crayon.
Then they scribbled all over the code in red crayon. We found that using circular scribbling motions covered the blue crayon best.

Next they put this magic decoder inside the bag with their treats.  

Here is a message written in blue crayon covered by the red scribbling. 
Look how it is revealed as you put it under the red cellophane. 

 The last step was to staple the top of the bag closed and add a few bits of ribbon for decoration. 
We were done! 
Now Dad will have to use the red cellophane heart as a super cool decoder to read the code key and decipher the message. The girls were so excited to let their dads try this out. I hope that they wait until Father's Day to give their Dads this gift!


Pin It

Tuesday, June 11, 2013

Make some Gak

By Deborah Pace Rowley


There is something about mixing up some Gak that brings out the giggles in everyone.


This chemical reaction is always a favorite of my students and the summer campers were crazy about it too.
All you need is a bottle of Elmer's Glue, some water, and some Borax. Borax is a powder that can be found in the laundry section of most grocery stores. I found mine at Walmart.


Here are the instructions:
1. Empty the entire 8 oz. bottle of glue into a mixing bowl. Fill the empty glue bottle with water and add the water to the bowl. Use a spoon to mix well. Add a drop or two of food coloring. We found some neon food coloring at the store which created some really cool colors for this last batch of Gak.
2. Measure 1/2 cup of warm water into a separate container and add a teaspoon of Borax powder. Stir the solution. Don't worry if all the powder dissolves.
3. While stirring the glue in the mixing bowl, add a little bit of the Borax Solution. Abandon the spoon and start using your hands to do some serious mixing. Keep adding the Borax solution to the glue mixture until you get the perfect consistency of your Gak. It can be either slimy or more dry. We prefer ours when it isn't too sticky but still stretches.

See the fun photos below.


Pin It

Friday, June 7, 2013

Father's Day QR Code Activity

by Deborah Pace Rowley


By now you know how crazy I am about QR Codes. Almost as crazy as Dads are about their smart phones. So you have to know that this activity is a winner!


First, print out the three QR codes here and then choose which heart you want to use. These are the three choices. If you have three kids you can choose all 3.


Crazy Love Heart


Puzzle Heart


Playing Card Heart

Then on Father's Day tape the QR code you have chosen to your child's heart. This can be on her shirt or better yet on his/her chest. This will prompt lots of extra tickling from Dad on Father's Day which is a real plus!


Then have your child lie down and call out to his or her Dad, "Dad, can you come here? Something is wrong with my heart!!" For a young child, Mom can do the calling. Katie reminded me that she is going to say to her dad (who is a nurse), "You better scan it!"


Dad rushes in and looks at the QR Code. He knows that he will need his smart phone to diagnose the problem. He quickly scans the QR code which leads to one of the above Father's Day Greetings. Simple, quick and fun!! And better than another pair of socks.

If Dad doesn't have a QR Code reader on his smart phone, it is easy to download a free app that will do the trick.

If you don't have a smart phone but would like to print out the three Father's Day greetings, you can do that below.

Crazy Love Heart

Puzzle Heart

Playing Card Heart

Father's Day QR Codes

Enjoy a special Father's Day for all the great Dads out there. And stay tuned for another Father's Day gift idea next week. This one has a secret code and a special decoder.


Pin It

Thursday, June 6, 2013

Summer Kick-Off: Make Individual Fruit Pizzas

By Deborah Pace Rowley

My favorite treat in the summer is fruit pizza, but with picky kids not everyone likes the same combination of fruits that I do on top. By making individual fruit pizzas, everyone gets to top their pizza exactly the way that they want to and you combine a fun activity and a treat at the same time.

First you need to make some sugar cookie dough. You can use your favorite recipe or buy some packaged sugar cookie dough. Here is my favorite recipe:


Sugar Cookies
2/3 cup shortening
¾ cup sugar
1 egg
4 Tablespoons milk
½ teaspoon vanilla
2 cups sifted flour
1 ½ teaspoon baking powder
¼ teaspoon salt


Blend wet ingredients well then add in dry ingredients. Chill the dough for at least one hour in the fridge or dough will be too soft to work with. Roll out the dough on a surface sprinkled with flour and cut into shapes as desired. Bake at 350 degrees for approximately 8-10 minutes or until the edges are slightly brown.

Once the cookies are baked, make the cream cheese frosting. I just blend 4 oz. of cream cheese with about 1/2 cup powdered sugar and enough milk to create the right consistency. Then set out an assortment of fruit, the cream cheese frosting and the sugar cookies and let everyone jump in and create their own.


Fun fruits to use include: bananas, strawberries, mandarin oranges, kiwis, pineapple, peaches, blueberries, raspberries and mangos. These cookies taste so much fresher and more delicious than the usual frosted kind. Perfect for summer fun!  


Pin It

Tuesday, June 4, 2013

Summer Kick-Off: Our Summer Bucket List

By Tiffany Rudd

Happy Summer! First, I need to apologize to my amazing sister for being MIA from the blog for the past little bit during our move. Her posts are the best though, so I'm sure none of you are complaining. :)

Now that we are settled in our home {or at least kinda...}, I'm excited to make this a super fun summer for my kiddos! This is our first summer in a few years where we haven't had a new baby, so I'm determined to pack it full of all the activities we've missed out on. Of course, we started off by creating a Summer Bucket List together! My kids are actually earning daily activities from the list by reading and working on their Summer Study Packets each morning. I'll post Cameron's 2nd Grade Summer Study Packet later in the week. It's only been a few days, but so far it is going great! :)

Our Fun Summer Bucket List 2013
Have a marshmallow war
Go to a drive-in movie
Have a Daddy Date Night for each of the kids
Have at least two at-home Restaurant Dinners
Paint Pet Rocks
Build an indoor fort
Have paper airplane races
Make friendship bracelets
Have a homemade pizza party
Have at least on Pajama Day - Check
Ride a PlasmaCar in the new house before we get furniture - Check! :)
Make cookies for the neighbors
Have a water balloon fight
Write a mail letters
Make homemade Salt Water Taffy
Go on a hike
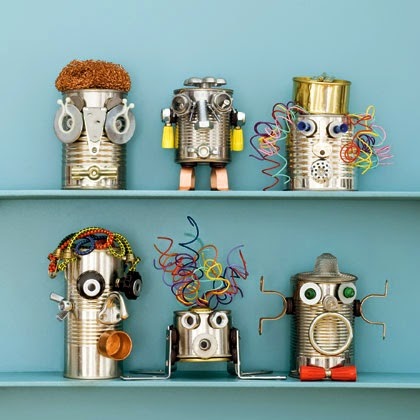
Make Recycled Robots
Have a cousin sleep-over
Send a Hug in the mail
Make homemade Flubber & Slime
Go to a water park
Have a picnic at the park
Eat lunch with Dad at work
Do at least 10 Random Acts of Kindness
Make and play Homemade Angry Birds
Go bowling
Play Mini-Golf
Make a movie
 Roast hotdogs and have a s'mores buffet at Grandma & Grandpa's
Go to a splash pad
Make homemade jam
Go to the Zoo
Learn a new card game
Get snow-cones
Make homemade musical instruments
Sleep in a bunk bed tent
Write and "publish" our own books

We may not get to them all, but it's going to be fun trying! I'll let you know which ones end up bring our favorites. :)

Pin It

Monday, June 3, 2013

Summer Kick-Off: {DIY} Nature Journal

By Deborah Pace Rowley

One fun way to celebrate the start of summer is to create a nature journal or scrapbook to record all of your awesome outdoor adventures. This nature journal is super easy to make with supplies you already have on hand. All you need are: 

A sheet of white tissue paper
A plastic page protector
Some Elmer's glue
A paintbrush
Some leaves and flowers

First you need to gather some supplies from nature. Katie and I just wandered our backyard looking for interesting leaves and flowers to add to the ziplock baggie that I brought along. You want to choose items that are mostly flat. We did flatten our flowers under a book when we brought them in. When that didn't work too well, Katie decided to use each petal individually. You don't want anything too three-diminsional or it will stick out too far and rip the tissue paper. 


After you have selected your materials, you can get ready to arrange them inside the sheet of tissue paper. 
Before you do, place the right side of the tissue paper on top of the plastic page protector so that you do not need to move the tissue once you get everything arranged.  I cut a piece of tissue paper about 11x16 inches so that when I folded it in half, it would be the size of a piece of paper. Remind your children to put the nature items on the right side only as the left side will be folded over top of the items as soon as they are in place.


Fold over the top of the tissue paper so that the nature items are inside. Now prepare your glue mixture. In a small bowl, mix 2 parts glue to 1 part water. This makes the glue runny and easy to work with. Using the foam brush gently brush glue onto the tissue paper. Use more of a gently patting motion than a stroking or painting motion since you need to be careful that you don't tear the tissue. The goal is to add enough glue so that both sides of the page stick together and the tissue paper is pushed down around each of the nature items. You want the tissue paper to look wrinkled and wet everywhere. 


Once you have completely covered the tissue paper, carry the page protector outside in the sun to dry. Our page was dry in about an hour. Then it easily peals off the plastic page protector to create a beautiful cover for your journal. I think it looks a little bit like vellum studded with flowers and leaves. Or like that really expensive art paper that is made of natural items. 

I trimmed the edges in a scalloped pattern because I thought that looked cool. Then I put the nature page on top of a piece of white construction paper. Then I put some plain white paper in the center and added another piece of  white construction paper for the back cover. Everything was hole-punched and then strung with ribbon to tie it all together.

We loved the finished product and I know Katie will be excited to write in it all summer long. You can experiment with different colored backing paper and ribbon. I really like the nature journal tied with raffia or twine because it completes the natural look but I didn't have any on hand right now and I was excited about completing this project for free! This process also makes beautiful handmade cards for father's day or for a grandma or grandpa. You can cut down the tissue paper and use fewer natural items to make a smaller size card. Have fun experimenting with this easy and fun process! 


Pin It
Blogging tips